


With React Router, routing in React apps is frictionless. In this guide, I'm going to explain the full particulars of the latest version of React Router which is version 6.
Routing is the ability to move between different parts of an application when a user enters a URL or clicks a link.
In traditional multipage applications, every page request requires the page to be fetched from the server. We get back multiple HTML pages, where each page has content for a given route. On the other hand, a single-page application is an app that works inside a browser and does not require page reloading during use. SPAs are all about serving an outstanding user experience by trying to imitate a “natural” environment in the browser — no page reloads, no extra wait time. It is just one web page that you visit which then loads all other content using JavaScript.
Time to move on to the specifics of this tutorial.
Installation steps..
Use
npx create-react-app your-app-name to create a react application. (I'm assuming you already know how to do this)
Navigate to your project's folder.
yarn add react-router-dom@6 for yarn users or npm install react-router-dom@6 for npm users.
This will install React Router library version 6.
Our Folder structure
Add a pages folder in the src directory- Components for the different pages we are going to make will stay in this folder.
Create a folder named Components in the src directory- Our Navbar component is going to stay in this folder.
Also ensure you have index.js and App.js in the src directory.
Lets Get Our Hands Dirty
Add the following code to your App.js
import {BrowserRouter, Routes, Route} from "react-router-dom"
const App= ()=>{
return (
<BrowserRouter>
<Routes>
<Route path="/" element={<h1>HOME PAGE</h1>}/>

</Routes>
</BrowserRouter>
);

}
export default App;
Make sure you are rendering the App component in index.js. Here is how your index.js should look like.
import React from 'react'
import ReactDOM from 'react-dom'

 import App from './App'

ReactDOM.render(
  <React.StrictMode>
    <App />
  </React.StrictMode>,
  document.getElementById('root')
);
We wrap our App content in the BrowserRouter which, enables navigation between views from different components , allows the browser URL to be changed, and keeps the UI in sync with the URL.
Then we define our routes by wrapping them in the<Routes></Routes>
To define a route, we use the Route where we specify the path and the contents we want to display. In our basic example above, we have one Route whose path is "/" (This means your domain)
We use the element property to add whatever content we want to display in the specified route. In our case, its just a h1.
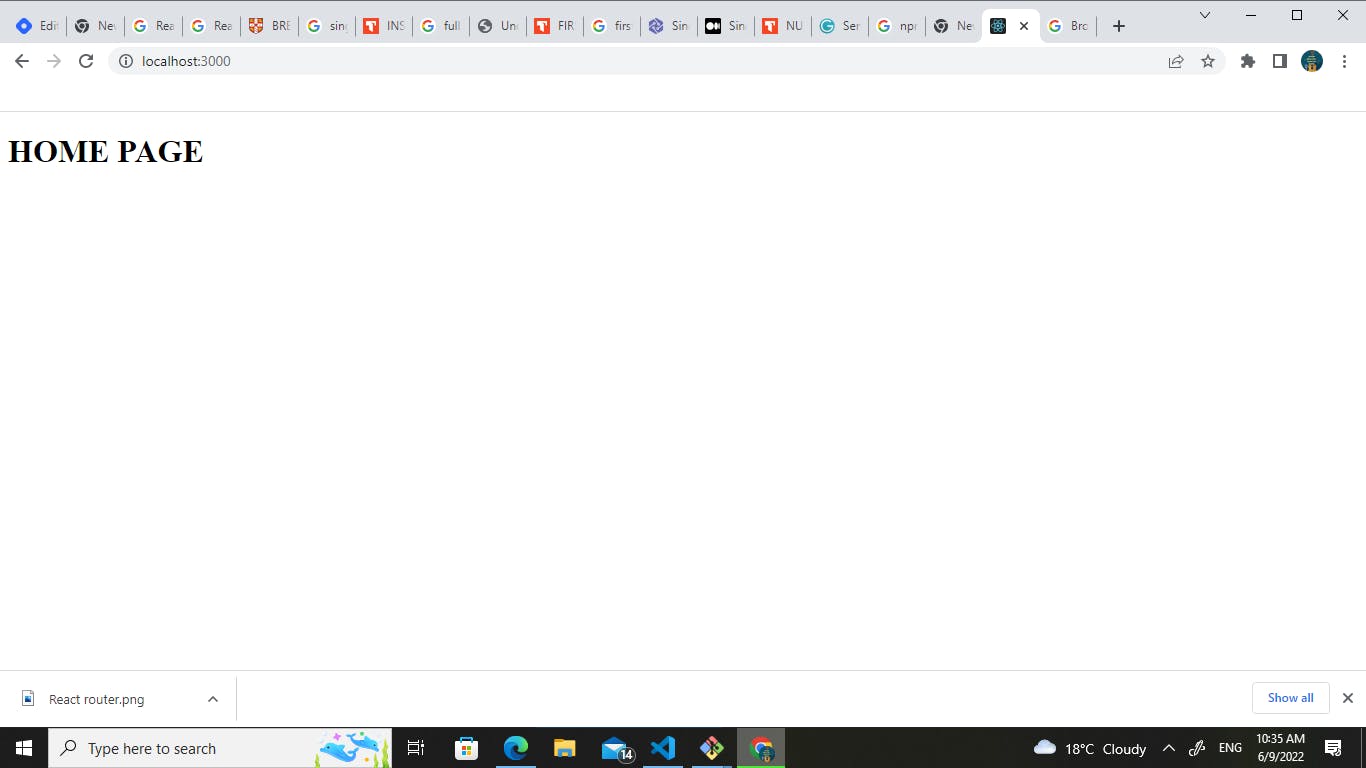
If we start our App and navigate to localhost:3000, We should see a the heading, HOME PAGE, displayed.
Awesome! lets add some more routes.
<Route path="/about" element={<h1>ABOUT PAGE</h1>}/>
<Route path="/product" element={<h1>PRODUCT PAGE</h1>}/>
`
Add the above routes just below the Home Page route so that your App.js looks like this:
import {BrowserRouter, Routes, Route} from "react-router-dom"
const App= ()=>{
return (
<BrowserRouter>
<Routes>
<Route path="/" element={<h1>HOME PAGE</h1>}/>
<Route path="/about" element={<h1>ABOUT PAGE</h1>}/>
<Route path="/products" element={<h1>PRODUCTS PAGE</h1>}/>

</Routes>
</BrowserRouter>
);

}
export default App;
Navigate to localhost:3000/about, you should see the heading, ABOUT PAGE displayed.
Navigate to localhost:3000/products, you should see the heading, PRODUCTS PAGE displayed.
Lets replace the h1s in the element property with our custom components.
In the pages folder, create 3 components, Home.js, About.js and Products.js
Home.js
const Home = () => {
  return (
    <>

    <section className="section">
<h1>This is the home page</h1>
    </section>

    </>
  );
};
export default Home;
About.js
const Home = () => {
  return (
    <>

    <section className="section">
<h1>This is the About page</h1>
    </section>

    </>
  );
};
export default About;
Products.js
const Home = () => {
  return (
    <>

    <section className="section">
<h1>This is the products page</h1>
    </section>

    </>
  );
};
export default Products;
Import the 3 components in App.js and replace the h1's wit these components.
<Route path="/" element={<Home/>}/>
<Route path="/about" element={<About/>}/>
<Route path="/product" element={<Products/>}/>
Awesome! The setup still works.
The Link component.
In our current setup, there is one stumbling block.
The user has to manually enter the url they want to visit.
A common setup is to use a Navbar which has all the links the user might want to visit.
Lets add a Navbar component in the components folder.
Navbar.js
import { Link } from 'react-router-dom';
const Navbar = () => {
  return (
    <nav>
      <Link to='/'>Home</Link>
      <Link to='/about'>About</Link>
      <Link to='/products'>Products</Link>
    </nav>
  );
};
export default Navbar;
We imported Link component from react-router-dom which allows users to navigate to different routes internally.
<Link to='/about'>About</Link>
You specify the url of the link in the to attribute as shown above.
Import the Navbar component in the Home.js and instead of returning a h1, return the Navbar.
Start your app and try navigating using the links.
There is a gotcha!- The Navbar is only displayed in the Home page.
However, it should be a shared component to enable users to navigate easily using the links.
Lets solve this bug in the next section
LETS REFACTOR OUR CODE || NESTED ROUTES
In a nested route, we have a parent route within which other routes are wrapped.
Example:
/dasboard -is the parent route.
/dashboard/user -
/user is a child of the parent route
Lets refactor our code to nest the about and products routes inside the root url i.e "/"
<BrowserRouter>

  <Routes>
    <Route path="/" element={<Home/>}>

     <Route path="about" element={<About/>}/>
      <Route path="products" element={<Products/>}/>
 </Route>
 </Routes>
</BrowserRouter>
If you start the app and navigate through the links, you'll notice that the home page is displayed in all the routes and the other route's contents aren't displayed.
This is not what we want.
We want the Navbar to be shared and we also want to display the contents of the other routes.
Outlet
import { Outlet } from "react-router-dom";
import a component called Outlet in the Home component.
Below, <Navbar/>, add <Outlet/>
Your Home component should look like this:
import Navbar from "../components/Navbar";
import { Outlet } from "react-router-dom";
const Home = () => {
  return (
    <>

   <Navbar/>
   <Outlet/>


    </>
  );
};
export default Home;
Here is how it works, Outlet is a component that renders the next match in a set of matches.
If we omit it, the nested child routes wouldn't be displayed.
Anything above or below the <Outlet/>will always be shared across all the nested routes.
Our set up seems to be working. But how do we add content that will only be displayed in the home page?
Index routes.
Create a new component in the pages folder and name it Index.js. The naming is case sensitive. It should start with a capital letter just like other components.
import React from 'react'

const Index = () => {
  return (
    <div>This is the home page</div>
  )
}

export default Index
import the Index component in App.js.
import Index from "./pages/Index"
Below the parent route, add an index route as shown below:
<Route index element={<Index/>}/>
Your App.js should be returning this code
<BrowserRouter>

  <Routes>
    <Route path="/" element={<Home/>}>
<Route index element={<Index/>}/>
     <Route path="about" element={<About/>}/>
      <Route path="products" element={<Products/>}/>
 </Route>
 </Routes>
</BrowserRouter>
The Index.js is the index page and it's contents will only be displayed in the home page.
Congrats for coming this far!
useParams
Lets assume that we have a lot of products in our products page and the user wants to navigate to a single product.
The url for a single product might look something like, /products/1 Where 1 is the id of the product.
Create a SingleProductComponent in the pages folder and name it SingleProduct.js
Add this code:
import {useParams} from "react-router-dom"


const SingleProduct = () => {
  const{productId}=useParams()

  return (
   <h1>{productId}</h1>
  );
};

export default SingleProduct;
Before we talk about useParams, import the component in App.js and add a single product route as shown below.
<Route path="products/:productId" element={<SingleProduct/>}/>
productId is whatever parameter the user passes in the url. (ofcourse you can name it anything)
e.g products/1 | the productId is 1
products/8899 | the productId is 8899.
You get the gist.
useParams is used to access this value.
e.g if a user passes products/1 and we console.log(useParams), you'll notice that it is an object,
{productId:1}
Then we can destructor productId
const{productId}=useParams()
You can for example compare the productId with an Id from an Api and display the product to the user and do a lot of cool stuff. In our case we are just displaying the value to the user.
If you navigate to /products/1 You will go to the single product page and you'll see the 1 you passed displayed as a h1.
Awesome!
useNavigate
Create a login component in the pages folder and name it Login.js
import { useState } from 'react';
import { useNavigate } from 'react-router-dom';
const Login = ({setUser}) => {
   const [name, setName] = useState('');
  const [email, setEmail] = useState('');


   const navigate = useNavigate();

  const handleSubmit = async (e) => {
    e.preventDefault();
   console.log(name, email)
   if(!name || !email){
     return
   }
   setUser({name:name, email:email})
    navigate('/dashboard');
  };

  return (
    <section className='section'>
      <form className='form' onSubmit={handleSubmit}>
        <h5>login</h5>
        <div className='form-row'>
          <label htmlFor='name' className='form-label'>
            name
          </label>
          <input
            type='text'
            className='form-input'
            id='name'
            value={name}
            onChange={(e) => setName(e.target.value)}
          />
        </div>
        <div className='form-row'>
          <label htmlFor='email' className='form-label'>
            email
          </label>
          <input
            type='email'
            className='form-input'
            id='email'
            value={email}
            onChange={(e) => setEmail(e.target.value)}
          />
        </div>
        <button type='submit' className='btn btn-block'>
          login
        </button>
      </form>
    </section>
  );
};
export default Login;
Before I get into the nuts and bolts of useNavigate, create a state called user in App.js.
const [user, setUser]=useState(null)
Add the login route as shown below and pass the setUser function which will be passed down to the Login component as a prop.
The value of user will then be whatever a user fills in the form.
<Route path='login' element={<Login setUser={setUser}></Login>} />
The useNavigate hook returns a function that lets you navigate programmatically, for example after a form is submitted.
In our setup, we check whether the user has atleast provided some input. We then store the input in the user state when the button is clicked and we navigate to a new url.(which we are going to create next)
Create a component named Dashboard.js in the pages folder.
const Dashboard = ({user}) => {
  return (
    <section className='section'>
      <h4>Hello,{user.name}</h4>
    </section>
  );
};
export default Dashboard;
Import it in App.js and add a route named dashboard.
 <Route path='dashboard'
            element={
 <Dashboard user={user} ></Dashboard>
  }
          />
user is passed to the dashboard component as a prop.
When a user enters their name and clicks login, they are programmatically taken to the dashboard.
This is achieved through the use of useNavigate hook.
PROTECTED ROUTES
Our setup is awesome but there is a bobby trap.
Anyone can navigate to the dashboard without logging in.
Lets make the dashboard a protected route only accessible to logged users. Create a component named ProtectedRoutes.js
import React from 'react'
import { Navigate } from 'react-router-dom'

const ProtectedRoutes = ({children, user}) => {
    if(!user){
        return <Navigate to="/" />
    }
  return (
children
  )
}

export default ProtectedRoutes
This component will look for a user. i.e whether the user provided a name when trying to log in.
If it doesn't find any value in user, it will automatically take the user back to the home page.
If it finds a value in user, the user will be directed to the dashboard. This is achieved by Navigate component from React router as shown above.
We will wrap the ProtectedRoutes component around the dashboard component in App.js
If there is a value in user, the ProtectedRoutes component returns children which basically means the component(s) nested inside it.
Import the ProtectedRoutes component in App.js and wrap it around dashboard.
 <Route
            path='dashboard'
            element={

             <ProtectedRoutes user={user}>
 <Dashboard user={user} ></Dashboard>
             </ProtectedRoutes>


            }
          />
Also pass the user to the ProtectedRoutes since we are accessing it via props.
That's it! You have done it. Congrats! Start the app and the functionality works as expected.
I hope this tutorial helped you understand the important things about React Router V6. Bye for now.